Pop Art
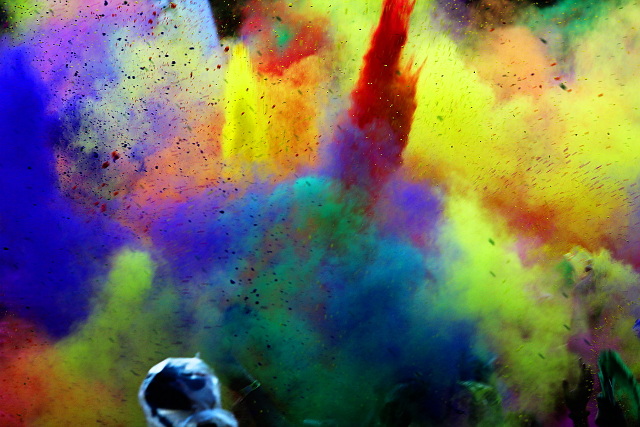
Recently I took a very colorful and quite abstract picture, which I thought would make for an interesting 'pop art' effect. The process is really basic and obvious, but I decided to share it for anyone who want to learn a quickie.
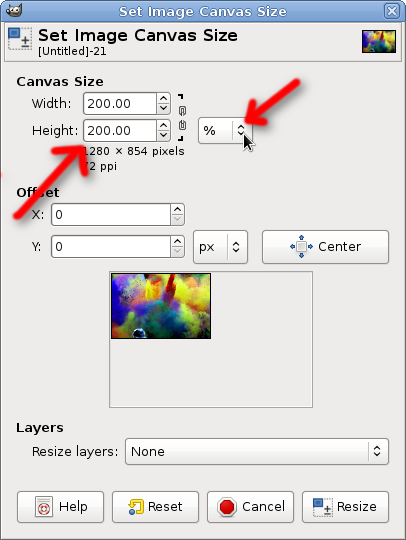
So, I opened the image with GIMP. Since I want the final collage as a 4x4 composition, increase the Canvas Size to 200% on both directions.
Then Duplicate the image layer.
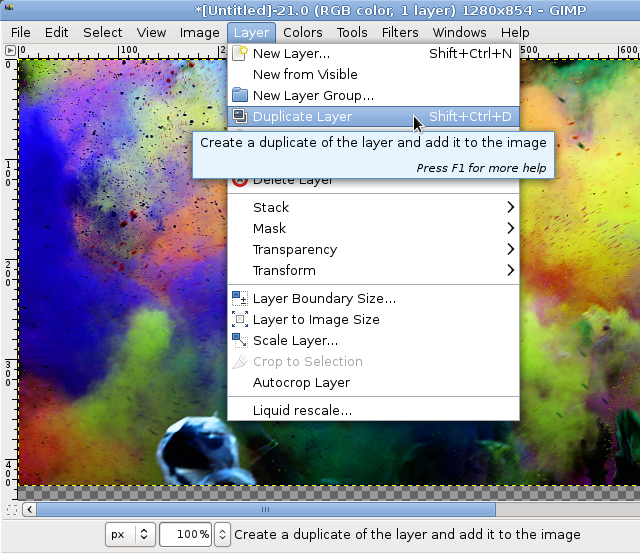
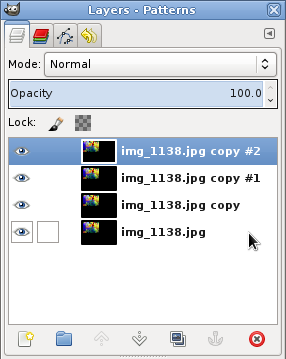
Repeat the duplication until there are enough pieces to cover the image. I need 3 duplicates, for a total of 4 pieces.
Select each piece and with the Alignment Tool move them to cover the image (one right, one bottom, one right and bottom).
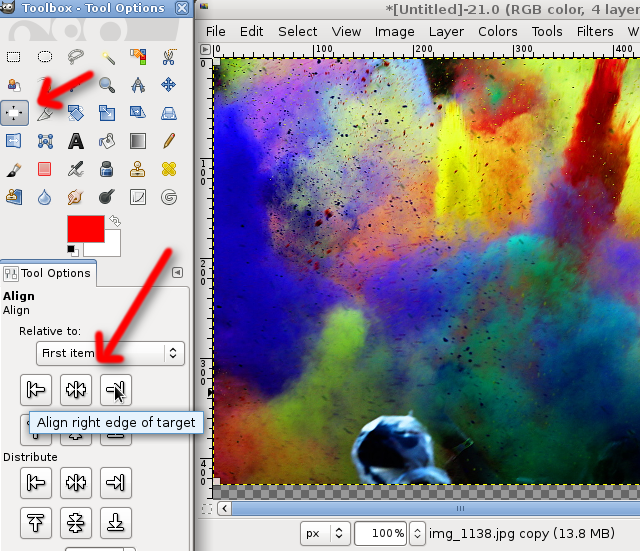
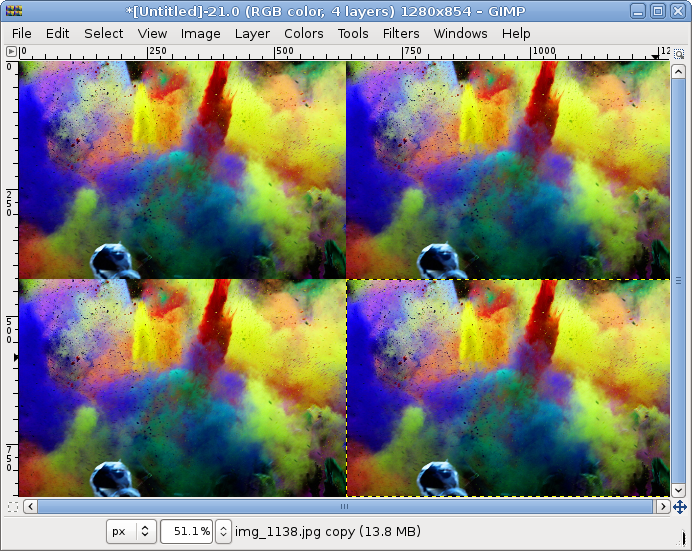
Now the aligned pieces should fill the entire image.
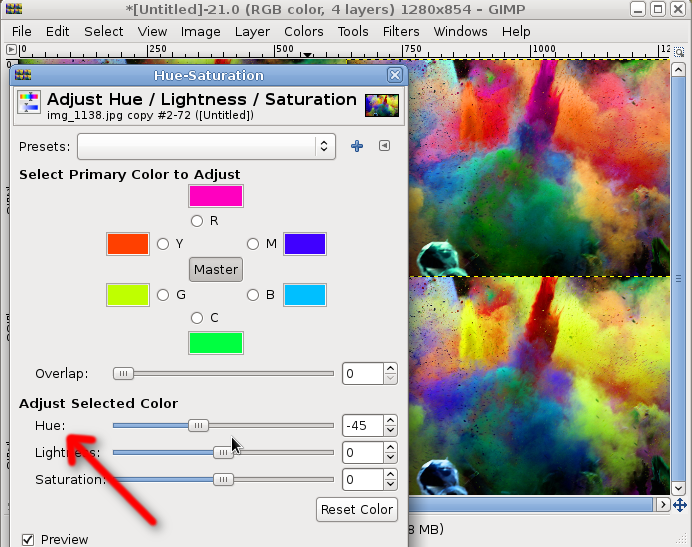
Leave one layer as is (if you really want, you can edit it too) and for the second open the Hue-Saturation dialog.

Move the Hue slider left or right until you are happy with the new color set.
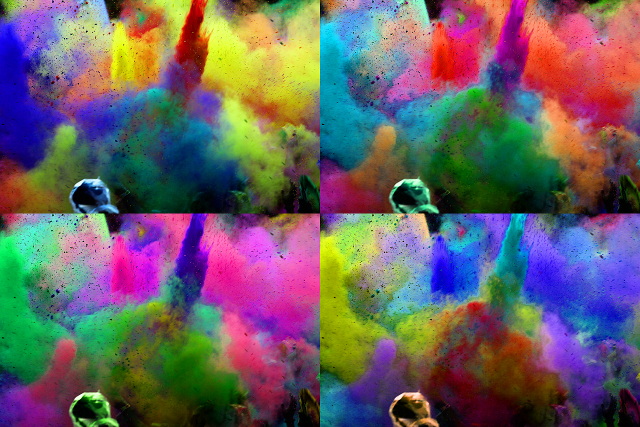
Repeat for the other layers until you have something like this:
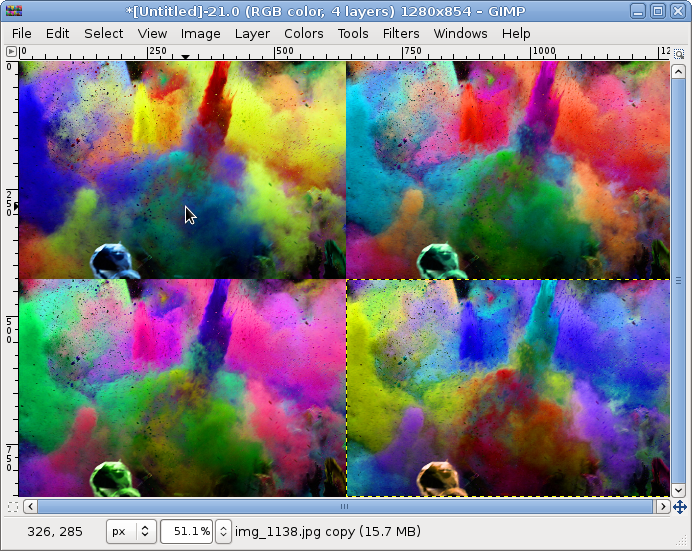
Export and you are done:
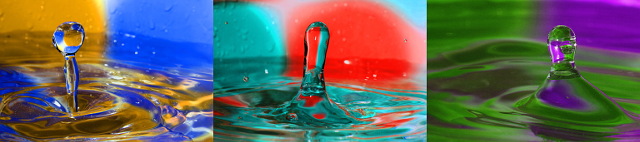
Here's a different use case for a similar effect: I had a single background for the water drop photos, but adjusting the Hue made it appear the pictures are more different than in reality.
PS: as someone told me, I should print this at some big size and try to sell my 'pop art' creation for a ginormous amount of money.
![]()


No comments:
Post a Comment